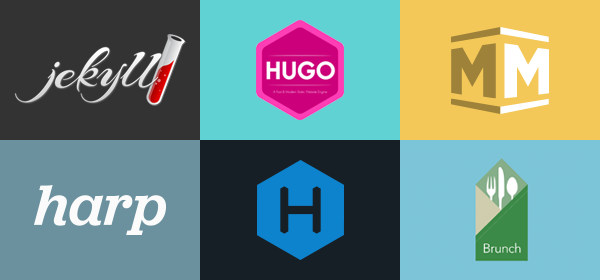
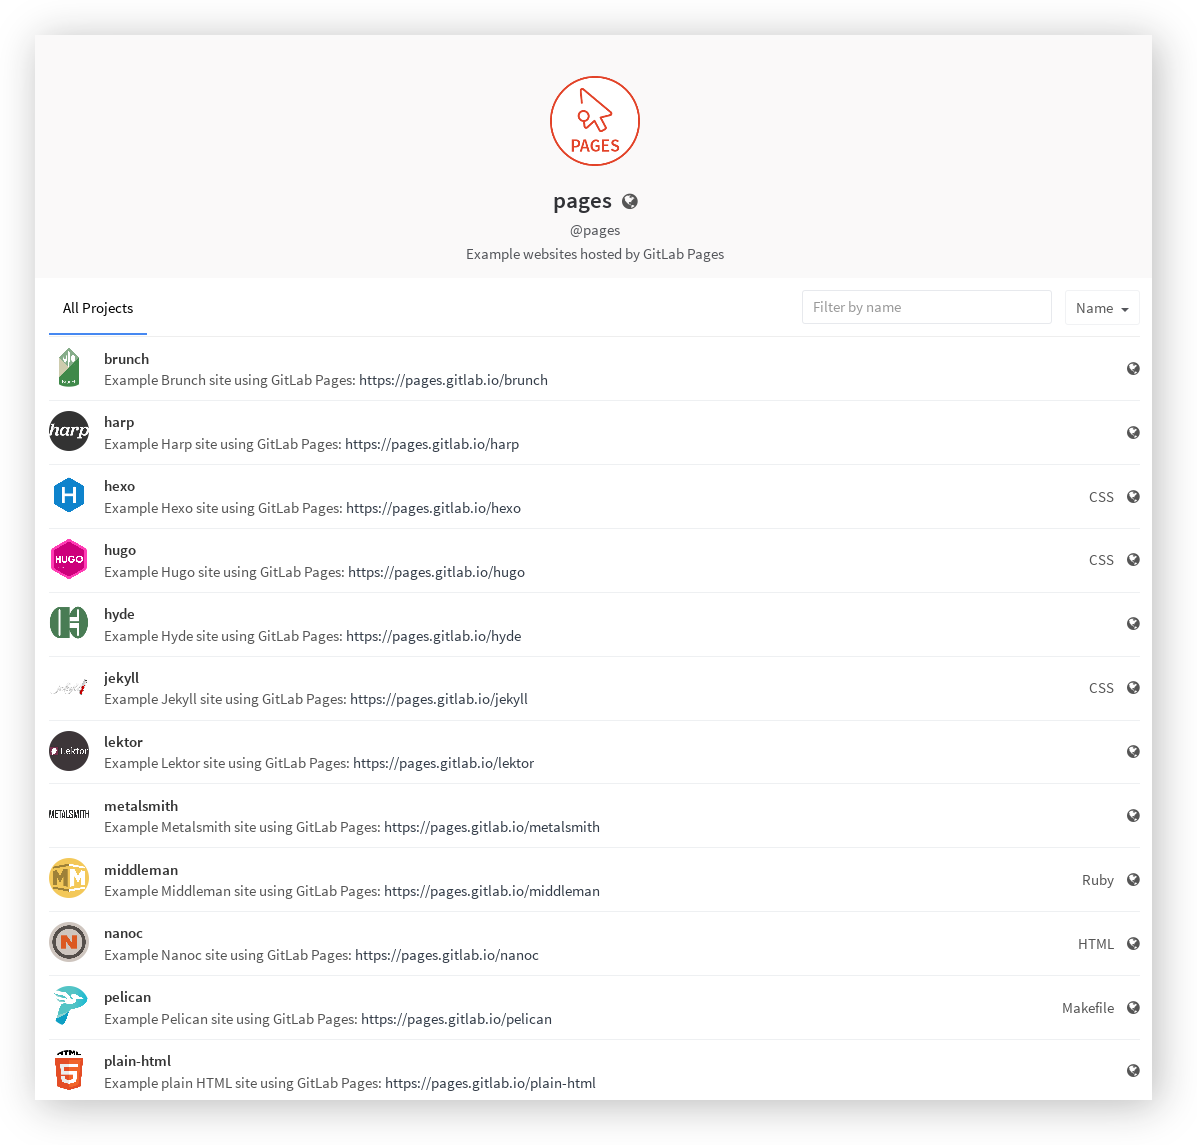
Fork one of our example projects
While you can create a project from scratch, let's keep it simple and fork one of your favorite example projects to get a quick start. GitLab Pages works with any static site generator.
Enable shared Runners
You can take advantage of the free shared Runners available on GitLab.com. All your builds will run on distinct Virtual Machines which use the latest Docker Engine. This will effectively eliminate any possible security issues, as there is no potential of breaking outside the container. However, you are free to set up your own Runner for your project.
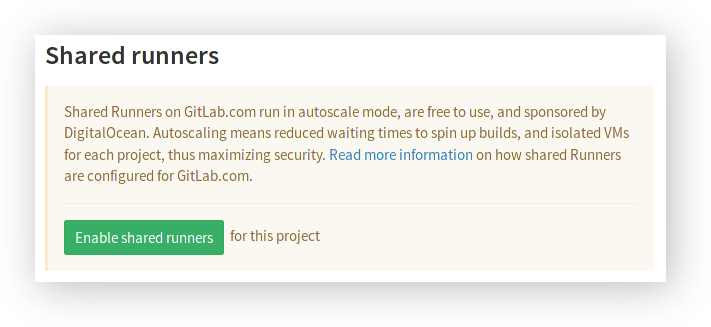
Navigate to your project's Settings > Runners and click on "Enable shared runners." This combines the power of GitLab CI with GitLab Runner to deploy static sites based on any generator. On new projects this setting may be enabled by default.
Configure your project (optional)
If you skip this step, your website will be available at https://username.gitlab.io/projectname, where username your username on GitLab and projectname the name of the project you forked in the first step. This is what we call a project Page.
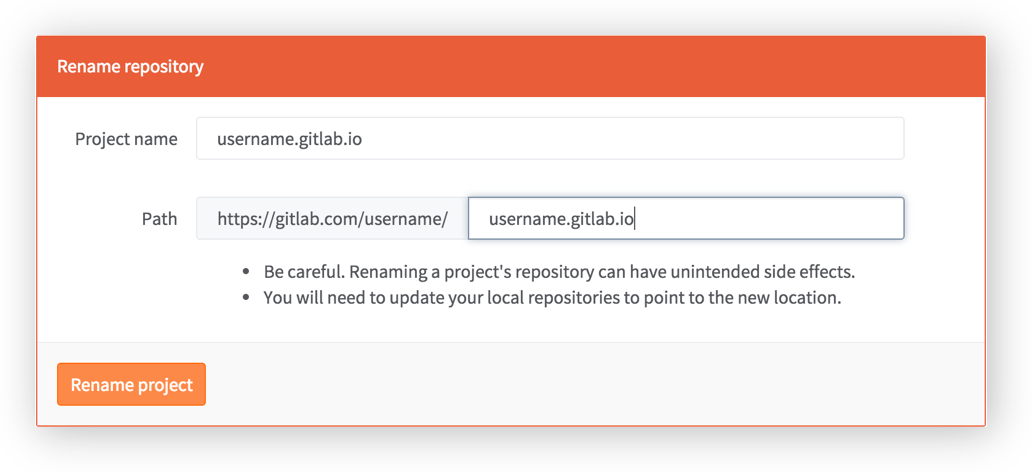
If you want the website to be available at https://username.gitlab.io, go to your project's Settings and rename your project to username.gitlab.io. This is what we call a user Page.
Depending on the static generator this may require some additional steps. Make sure to read the README.md file of the project you chose.
Edit your site
Commit & push at least one change in order to trigger the build process. You can edit your site files right from the browser, or use Git from the command line.
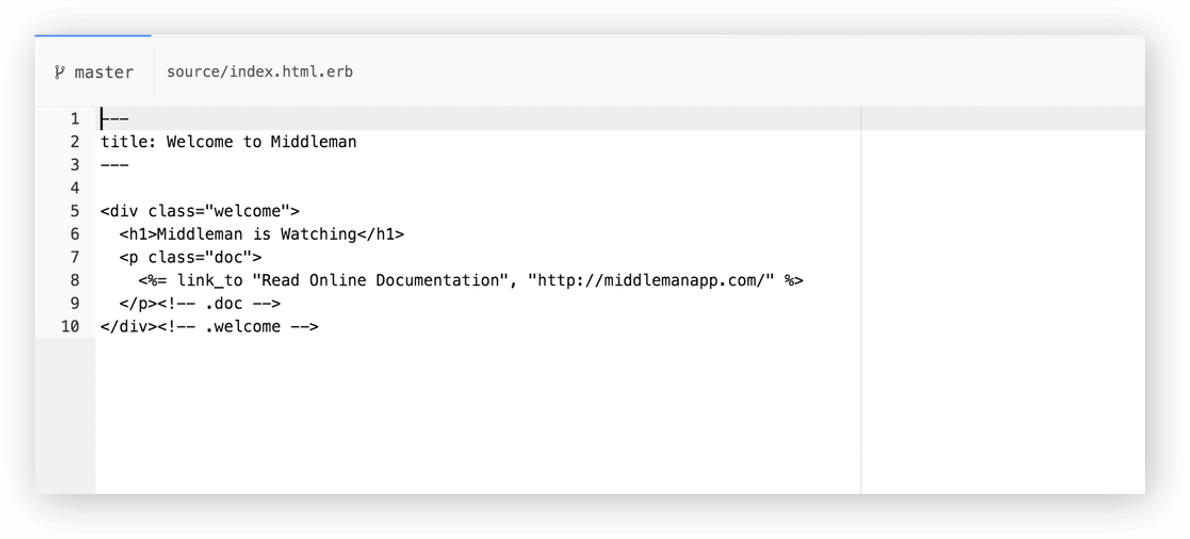
Edit your site directly in GitLab from your browser.
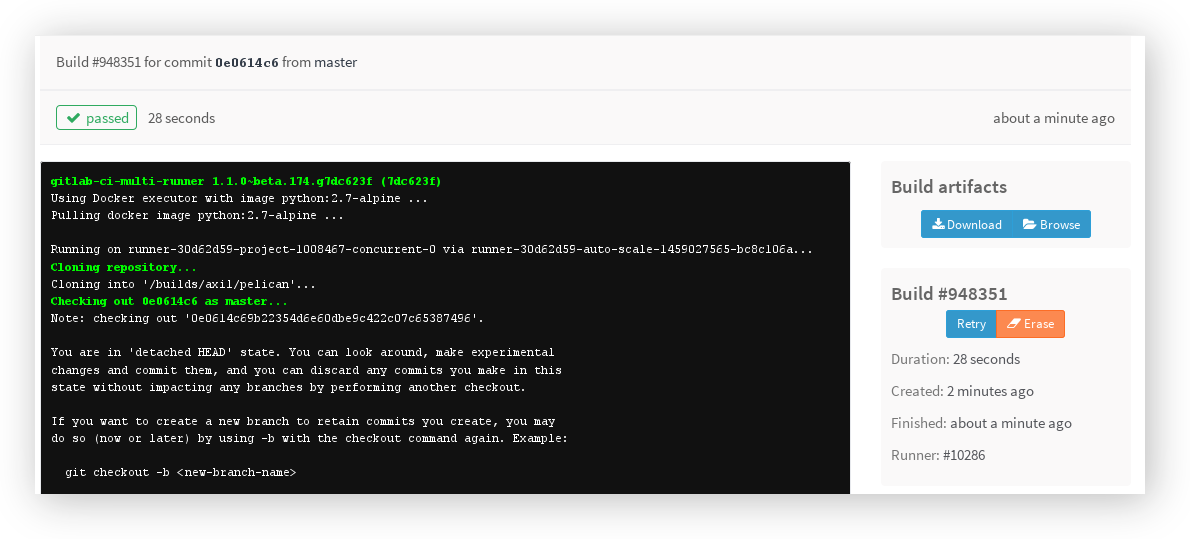
Once you commit the changes, the build process will begin and your site will eventually be available online.
Visit your site!
Fire up your browser and visit https://username.gitlab.io/projectname or https://username.gitlab.io depending on what you followed in step 3.